When designing assemblies in Onshape, choosing the right modeling strategy can have a major impact on how efficiently you create, modify, and manage your designs.
Two of the most common approaches are Top-Down Assembly Design and Bottom-Up Assembly Design. Both methods are useful, but they work differently and are better suited to different types of projects.
In this guide, we'll explain the difference between Top-Down and Bottom-Up assembly design in Onshape, their advantages and limitations, and how to decide which approach is right for your next project.
What Is Assembly Design in Onshape?
An assembly is a collection of individual components that work together to form a complete product or mechanism.
In Onshape, assemblies can contain parts, subassemblies, and other components. You can position these components using mates, define their movement, and verify how they interact.
The key question is: How should you create and manage the individual components?
This is where Top-Down and Bottom-Up design approaches come into play.
What Is Bottom-Up Assembly Design?
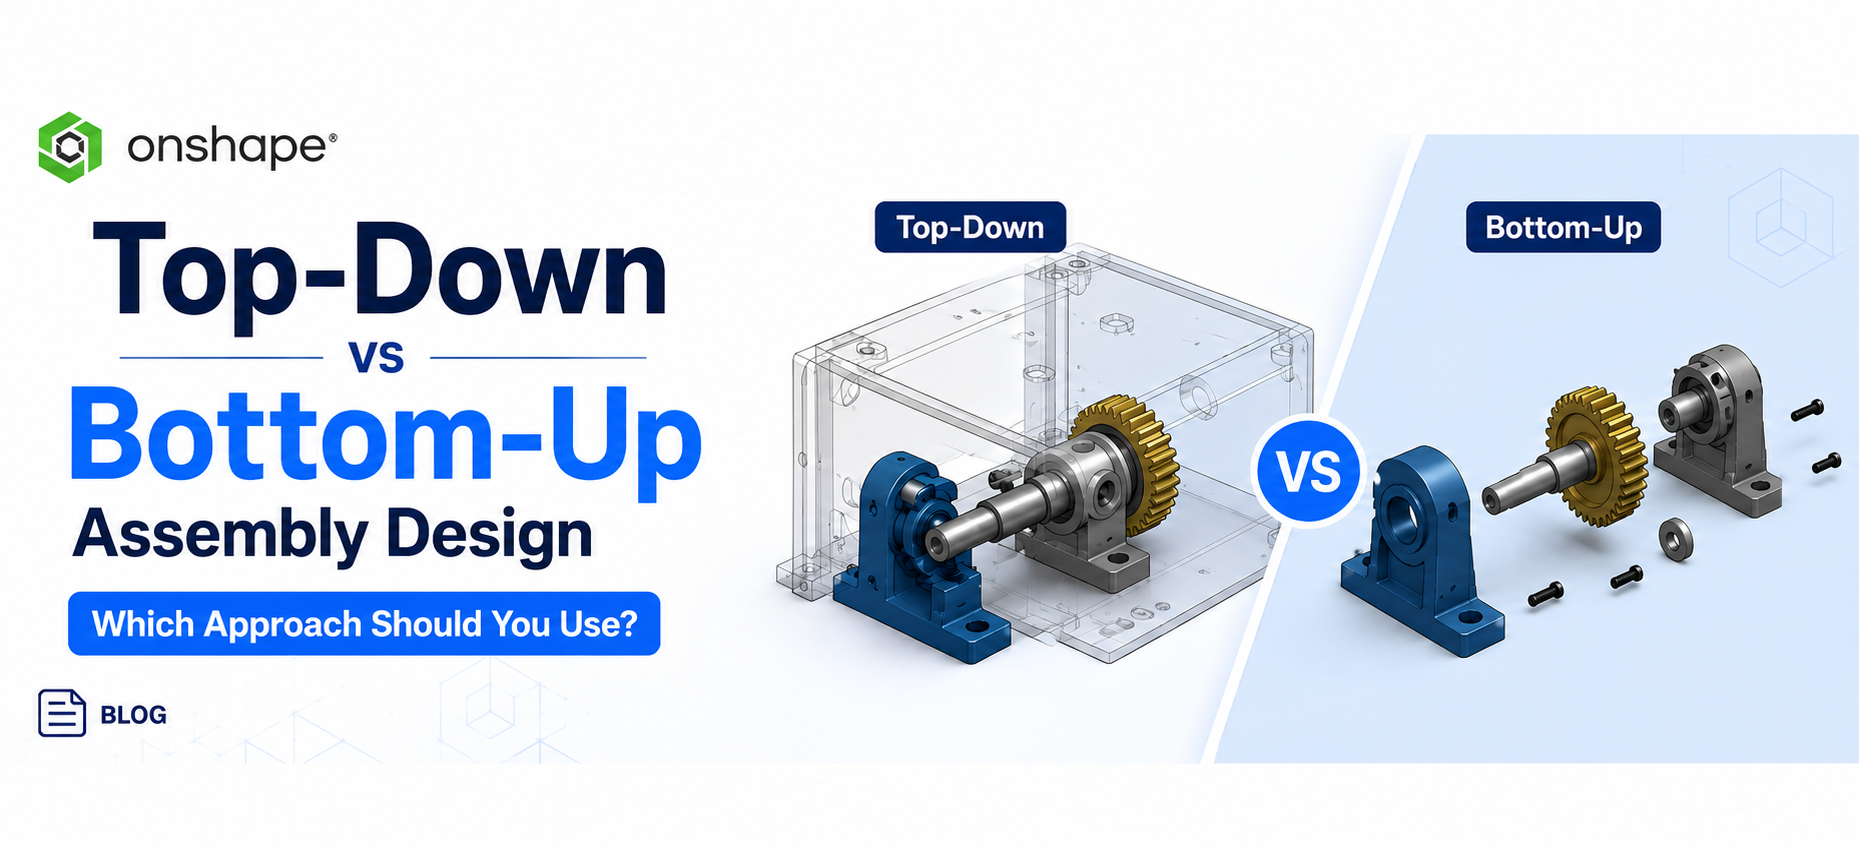
In a Bottom-Up assembly, individual parts are designed separately before they are brought together into an assembly.
For example, imagine designing a simple mechanical bracket assembly. You might first create:
- Base plate
- Mounting bracket
- Shaft
- Gear
- Fasteners
Each component is modeled independently. Once the parts are complete, they are inserted into the Onshape Assembly and positioned using mates.
Typical Bottom-Up Workflow
This approach is very common when the individual components are already defined or when different team members are responsible for different parts.
Advantages of Bottom-Up Design
- Independent Part Development: Each component can be designed and modified independently.
- Easy Component Reuse: Existing parts can be reused across multiple assemblies.
- Suitable for Standard Components: If your design uses purchased or standardized components, Bottom-Up modeling is often the most practical approach.
- Clear Part-Level Organization: Each part can have its own design history, dimensions, and specifications.
- Good for Large Component Libraries: Companies with established part libraries can efficiently assemble products using existing components.
Limitations of Bottom-Up Design
The main limitation is that relationships between components may not be established during the initial design process.
If one component needs to change because of another component, you may need to manually update multiple parts.
What Is Top-Down Assembly Design?
In a Top-Down assembly, the overall product or assembly concept is established first, and individual components are designed based on their relationship to the overall design.
Instead of designing every part independently, you start with the product's overall structure, layout, or design intent.
For example, when designing a gearbox, you may first define the positions of the shafts, gears, housing, and mounting points. Individual components can then be developed around these relationships.
Typical Top-Down Workflow
Top-Down design is especially useful when the dimensions or locations of components depend heavily on one another.
Advantages of Top-Down Design
- Strong Design Relationships: Components can be designed based on their position and relationship to other components.
- Faster Design Changes: When the design is structured correctly, changes to the overall concept can flow through related components.
- Excellent for Mechanisms: Top-Down modeling works particularly well for products where component geometry and positioning are closely connected.
- Better Design Intent: The design can reflect how the product is intended to function rather than treating every component as completely independent.
- Useful for Complex Products: Products such as machinery, enclosures, mechanisms, and equipment can benefit from a Top-Down approach.
Onshape Top-Down vs Bottom-Up: Key Differences
| Feature | Top-Down | Bottom-Up |
|---|---|---|
| Design starting point | Overall product/assembly | Individual parts |
| Part dependency | Higher | Lower |
| Design relationships | Strong | Limited initially |
| Component reuse | Good | Excellent |
| Standard components | Good | Excellent |
| Design changes | Often easier for related components | May require manual updates |
| Best for | Complex integrated products | Independent/reusable components |
| Design intent | Strong | Part-focused |
| Typical workflow | Assembly → Parts | Parts → Assembly |
When Should You Use Top-Down Design?
Top-Down design is a good choice when the components are highly dependent on one another. Consider using it when:
- Several parts must fit together precisely.
- Component dimensions depend on the overall assembly.
- You are designing a mechanism.
- Design changes are expected during development.
- The product has complex component relationships.
- You want to maintain strong design intent.
Example: Machine Enclosure
Suppose you are designing an enclosure for an electronic or mechanical system. The overall enclosure size may depend on the size and position of internal components. Mounting holes, brackets, panels, and openings must all align. A Top-Down strategy can help establish these relationships early in the design process.
When Should You Use Bottom-Up Design?
Bottom-Up design is usually preferable when components are relatively independent or already available. Consider using it when:
- You already have completed parts.
- You are using standard components.
- Components are purchased from suppliers.
- You have an existing CAD library.
- Parts need to be reused in multiple assemblies.
- Different designers are working independently on components.
Example: Conveyor Assembly
A conveyor system may contain motors, bearings, rollers, fasteners, belts, and structural components. Many of these components may already exist as standard or purchased parts. Designing each part independently and then assembling them can be much more efficient.
Can You Combine Top-Down and Bottom-Up Design?
In real-world CAD projects, designers don't always have to choose one approach exclusively. A hybrid approach can often provide the best results.
For example, you could:
- Define the overall product layout using a Top-Down strategy.
- Create custom components based on the overall design.
- Import standard components using a Bottom-Up workflow.
- Assemble everything using Onshape mates.
- Validate the complete assembly.
- Update the design as requirements change.
This approach allows you to take advantage of both methods.
Top-Down vs Bottom-Up: A Simple Example
Imagine you are designing a robotic arm.
Bottom-Up Approach
You could independently create:
- Base
- Arm links
- Shafts
- Gears
- Motor mounts
- Gripper
Then insert all the components into an assembly and use mates to define their relationships. This works well if the components have already been designed.
Top-Down Approach
Alternatively, you could first establish:
- Joint locations
- Overall arm reach
- Motor positions
- Link lengths
- Gripper location
- Required movement
Then design the individual components around these requirements. This can be more effective when the geometry and dimensions of one component depend directly on the others.
Which Approach Is Better?
There is no universal winner; the right approach depends on your project.
- Choose Top-Down when: The assembly drives the design of the individual parts.
- Choose Bottom-Up when: The individual parts already exist and the assembly brings them together.
For highly interconnected products, Top-Down can provide better design control. For projects based on existing or reusable components, Bottom-Up can provide a faster and more organized workflow.
Best Practices for Onshape Assembly Design
Regardless of the approach you choose, following a few best practices can make your Onshape assemblies easier to manage:
- Plan Your Assembly Structure: Before modeling, identify the major components and subassemblies.
- Use Appropriate Mates: Use Onshape's assembly mates to define the intended relationships and movement between components.
- Reuse Existing Components: Avoid recreating standard components when an existing part can be reused.
- Keep Design Intent Clear: When using Top-Down methods, establish meaningful relationships between components and avoid unnecessary dependencies.
- Use Subassemblies for Complex Products: Breaking a large assembly into logical subassemblies can make the design easier to manage.
- Test Design Changes: After making major changes, check the assembly to ensure components still fit and move as expected.
Final Verdict
Top-Down and Bottom-Up assembly design are both valuable approaches in Onshape.
Top-Down design focuses on the overall product and relationships between components, making it ideal for complex, interconnected designs. Bottom-Up design focuses on individual components first, making it particularly effective for reusable parts, standard components, and existing CAD libraries.
For professional CAD workflows, the most effective solution is often a combination of both approaches. Understanding when to use each method will help you create more efficient, flexible, and maintainable Onshape assemblies.
Want to Learn Onshape?
If you're learning Onshape from scratch, a project-based approach can help you master parts, assemblies, mates, design workflows, and real-world CAD modeling effectively.
Start Learning Today →