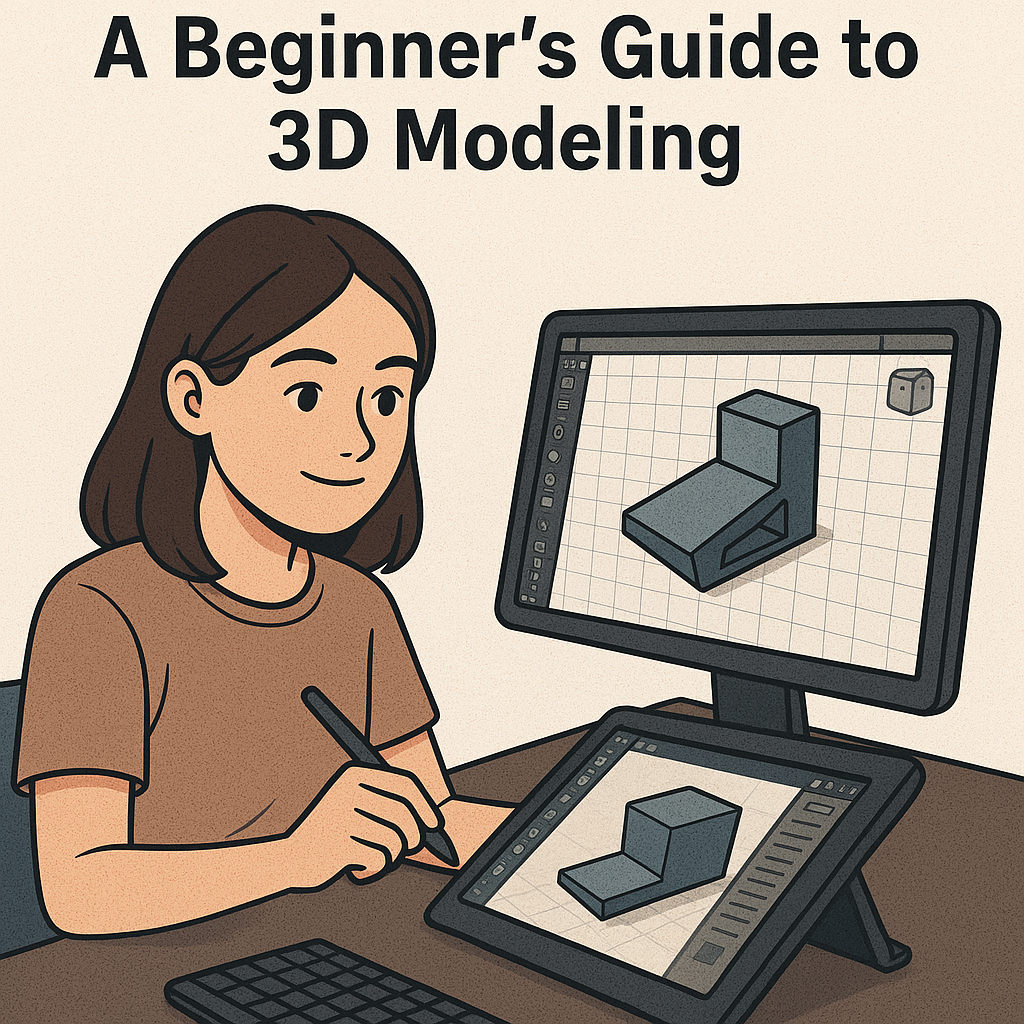
From Sketch to Product: A Beginner’s Guide to 3D Modeling
3D modeling isn’t just about drawing shapes — it’s about turning your ideas into tangible products. Whether you're an aspiring engineer, designer, or hobbyist, this beginner-friendly guide walks you through each essential step — from concept sketch to a fully developed digital model, ready for rendering or manufacturing.
Step 1: Start with a Concept Sketch
Before you open any software, start with the basics.
-
Use pen and paper or a digital sketch app like Concepts, Sketchbook, or Procreate
-
Focus on form, function, and basic proportions
-
Sketch multiple angles if needed (top, front, side views)
Step 2: Create a 2D Sketch in CAD
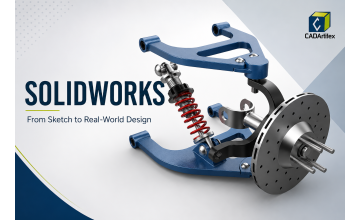
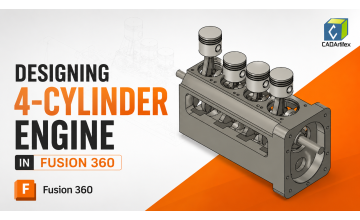
Bring your concept into CAD software such as Fusion 360, SolidWorks, or FreeCAD.
-
Choose a base plane (XY, YZ, or XZ)
-
Sketch using geometric tools: lines, circles, rectangles
-
Apply dimensions and constraints for accuracy and control
Step 3: Convert 2D Sketch to 3D
Now, give your sketch depth and volume using 3D features.
-
Use Extrude, Revolve, Sweep, or Loft
-
Add fillets, chamfers, holes, or shell features for detailing
-
Use mirroring or pattern tools for symmetry and repetition
Step 4: Assemble Parts (If Needed)
If your product has multiple components, create and assemble them.
-
Model each part separately using part design tools
-
Use Assembly tools like mate, align, or insert to bring them together
-
Test motion or fit using basic kinematic simulations
Step 5: Rendering and Visualization
Showcase your design with high-quality visuals.
-
Apply materials (plastic, steel, glass, etc.)
-
Add colors and textures
-
Use the built-in Render tools in Fusion 360 or SolidWorks Visualize to create lifelike images
Step 6: Create 2D Drawings
Before manufacturing, generate technical drawings from your model.
-
Use drawing workbenches like TechDraw (FreeCAD), Drawing (Fusion 360), or Drafting (SolidWorks)
-
Include multiple views (front, top, side, isometric)
-
Add dimensions, tolerances, and annotations
-
Export as PDF or DWG for documentation or fabrication
Step 7: Export and Manufacture
When your model is ready:
-
Export as STL for 3D printing or STEP/IGES for CNC machining
-
Check compatibility with slicers or CAM software
-
Review tolerances and prepare for prototyping or full-scale production
Conclusion
With the right tools and mindset, anyone can bring their ideas to life through CAD. Don’t just watch tutorials — create. Our project-based CAD courses are designed to help you go beyond theory and start building real-world models from day one.